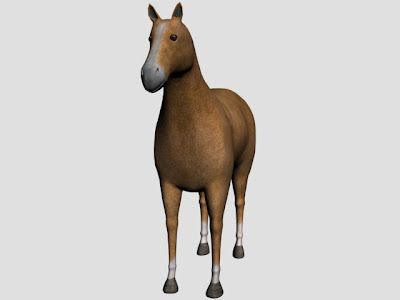
Step 1: I started by making a plane in the right viewport and made it an editable poly. I then extruded out the edge to form the outline of a horses head and neck.
I then extruded outwards to form the horses mouth tweaking the vertices in the front and right viewports as I went. I carried on this process up the front of the nose and down under the horses jaw. I inset a poly at the front of the face and deleted the inside to create the nostril.

Step 2: I carried on extruding the polys up and around, tweaking the vertices as I went, linking with the jaw to create the main part of the horses face.

Step 3: I extruded the polys down to form the neck and up into a point at the top of the head to create the ear. Again I inset a poly deleting the inside to create the eye.

Step 4: I then refined the ear by inseting and extruding the front facing poly inwards. I also connected the bottom of the neck to the top of the head.

Step 5: I took the top 3/4 edges of the neck and extruded them down to form the length of the body. I then took the bottom 3 polys and extruded that along the body to form the bottom of the horse.

Step 6: I then filled in the rest of the polys to make the body. I tweaked the vertices in the front and right viewports to form the flow of the body.

Step 7: I then made a copy of the head and spent a while tweaking the vertices to make a more realistig. A majority of the work was focused around the jaw. After I was happy with the changes I had made I deleted the old head and welded on the new head.

Step 8: I then extruded the polys down the back and around the side of the body to create the rear end of the horse.

Step 9: I added some more edges down the horse and tweaked the vertices to achieve a better edge flow on the body. I also deleted a number of polys in two places on the body and began to construct the base of the legs.
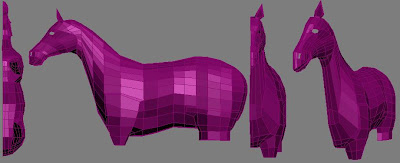
Step 10: I then extruded the polys downt he letgs to make the kness, ankles and finally the hoofs. I deleted four polys at the top of the rear end and extruded the edges out to make the tale. I then extruded the edges around the eye and nose holes before adding a symmetry modifier. I finally added spheres for the eyeballs.

Step 11: I then added a meshsmooth. I chose this over a turbosmooth to keep the poly count low.
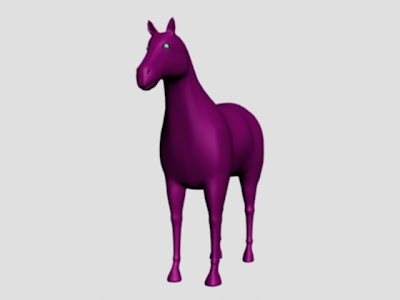
Step 12: I then added a UVW Unwrap modifier to my model and went by connecting all the edges to create one mesh. I left the bottome of the hoofs, inner mouth, ears and tail seperate.
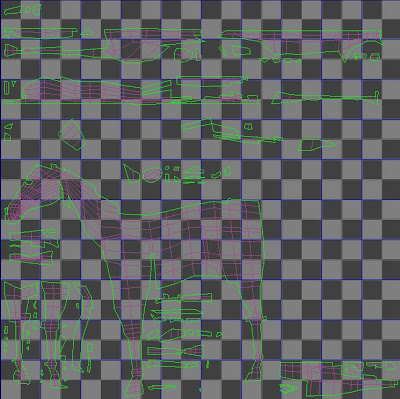
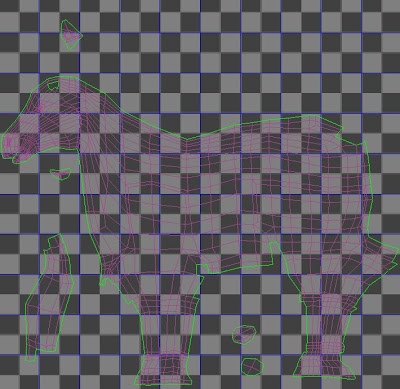
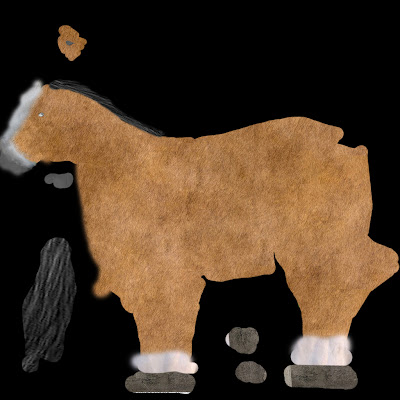
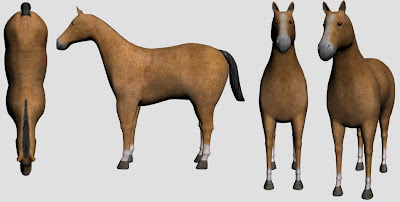
Step 13: Using different textures I then made a material for the horse in photoshop.
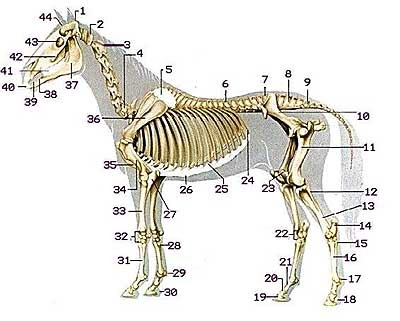
Step 14: Using a picture of a horses bone structure I then added bones to the mesh of my horse.
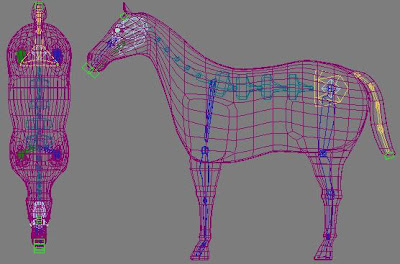
Step 15: I then added a skin modifier to my model so it is now ready to be skinned and weighted correctly
No comments:
Post a Comment