
Step 1: I first created a plane in the front viewport. converted it to an editable poly and added a symmetry modifier. I then extruded the edges around to form the inside and outside of the mouth, tweaking the vertices in the right and front viewport as I went.

Step 2: I carried on extruding the edges up and out, tweaking the vertices as I went, to form the head of the stag.

Step 3: I extruded the edge loop down multiple times to form the neck. I also selected a number ov polys, used the inset tool and removed the new polys to form the eye, antler and ear holes. I then extruded the ear holes up and out to form the ears.

Step 4: I then tweaked the vertices in multiple viewports to form the final shape of the ear. I inset a poly above the mouth, deleted the new poly and extruded the edges inwards to form the nostril. I then spent a while tweaking the verts to form the end of the nose which I think looks quite realistic.

Step 5: I extruded the edges around the hole multiple times on the top of the head to form the antlers.
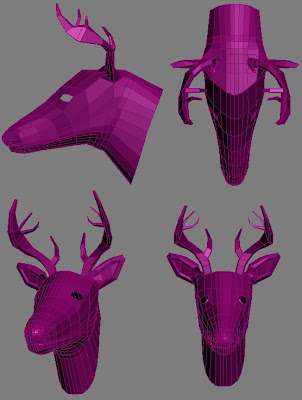
Step 6: I then extruded the hole for the eye inwards to form the eye socket and carried on extruding the edge loop at the base of the neck to form the front of the back.
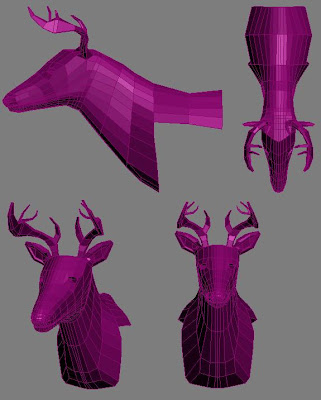
Step 7: I carried on extruding selected edges to form the back, tail and belly of the stag.

Step 8: I then extruded the edges around from the back, backside, back and belly to from the leg joints.

Step 9: I finally extruded the leg holes down to form the leg, paying close attention to the knees and the hooves.

Step 10: I then added a mesh smooth modifier to complete the modelling phase of the stag.

Step 11: I added a UVW Unwrap modifier to the stag and started to attach the pieces together.
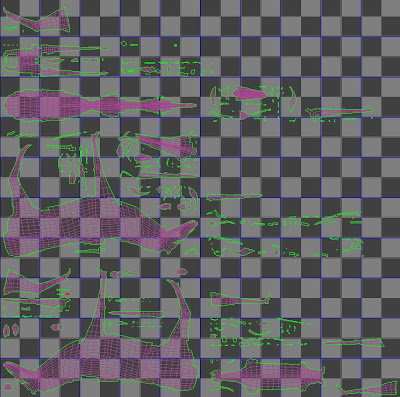
Step 12: A chequer material was used to see the unwrap progress.
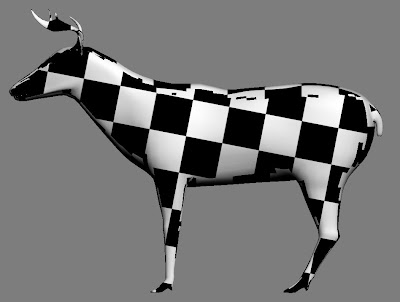
Step 13: I completed the UVW Unwrap keeping the hooves, ears, inner mouth and antlers seperate.
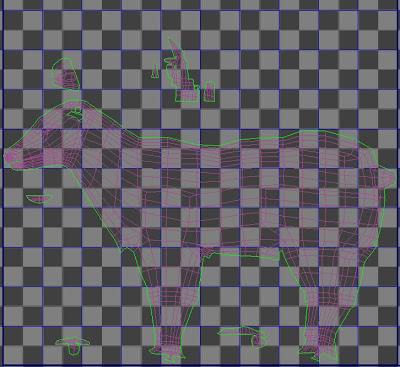
Step 14: I then checked the chequer material before proceeding to creating a material for the stag.
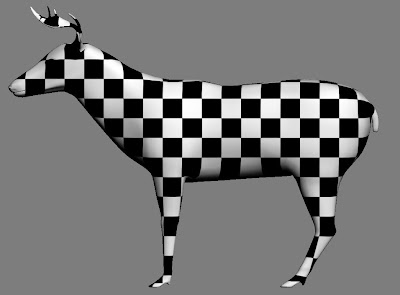
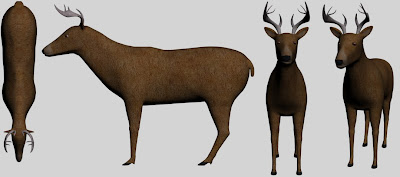
Step 15: I created a material for the stag in Photoshop using the UVW Unwrap render as a template and different high quality textures found on the internet.

Step 16: I then created a biped and scaled the limps to fit the stag. A skin modifier was then added and the vertices weighted.
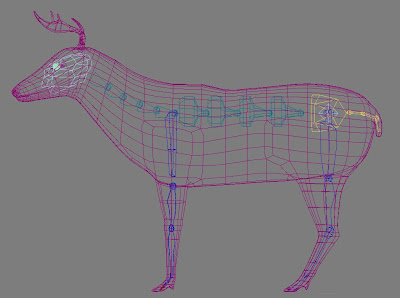
The stag model is now ready to be merged to a scene and animated.
No comments:
Post a Comment