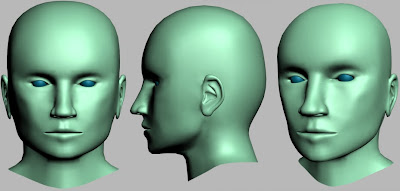
Step 1: I started by creating a plane in the front viewport, adding a symmetry modifier and converting it to an editable poly. I then extruded the edges out and tweaked the vertices in multiple viewports to create the lips and mouth. A poly was then copied up and extruded to form the eye hole. The edges were then extruded down to form the nose, nostrils and joined to the mouth.
Edges were then extruded downwards to form the chin which was then extruded up and around to form the cheeks and forehead. The cheeks were finally completed using the weld and create poly tool.
The forehead, cheeks and chin were extruded backwards and around to form the head and downwards to form the top of the neck. The vertices were then tweaked in multiple viewports to form the final shape of the head.

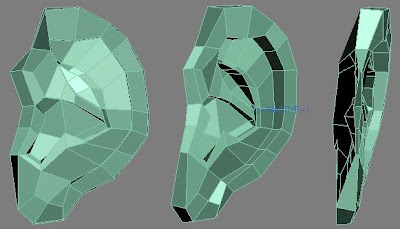
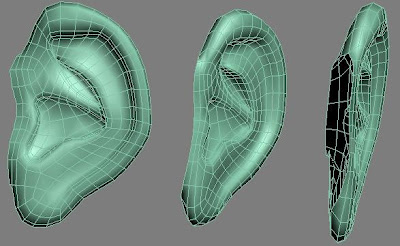
Step 2: To create the ears, a plane was copied from the head and extruded with a lot of tweaking the vertices to form the outline of the ear. The edges where then extruded inwards to form the inner ear.

Step 3: The weld and create poly tool was then used to finish off the ear. This was then welded to the head and eyeballs were created out of spheres.
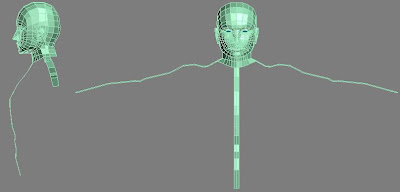
Step 4: I then extruded some planed from the neck out to form guidelines for the arms and chest.
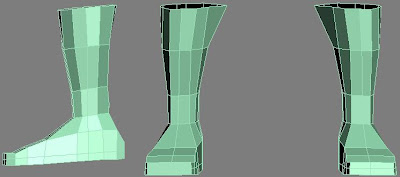
Step 5: Copying another plane from the head I then started to extrude and tweak the vertices of what would become the boot. I Extruded the edges upwards to form the calf.
Step 6: I continued to extrude upwards forming the knees of the hunter.
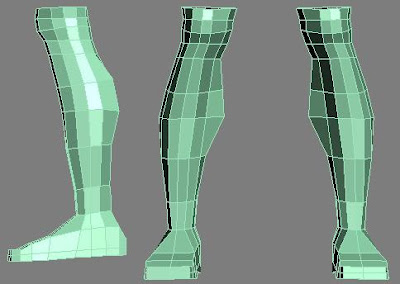
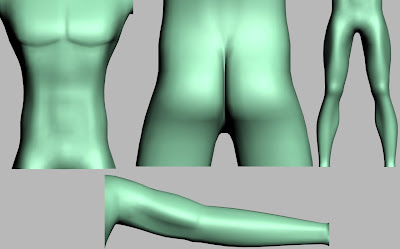
Step 7: The edges where then extruded up to create the thighs. A lot of care was taken in tweaking the vertices to get a realistic flow and the edge flows at the back of the model were tweaked to the side to form thigh muscle definition.
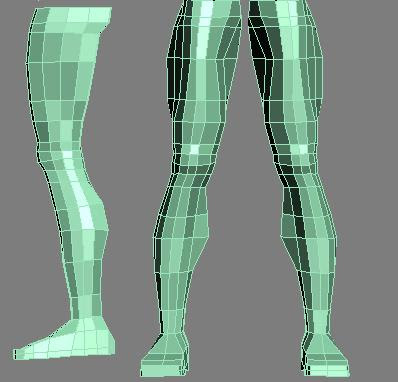
Step 8: I continued to extrude the edges upwards to form the backside and stomach of the hunter. Again, care was taken to achieve the most realistic shape possible.
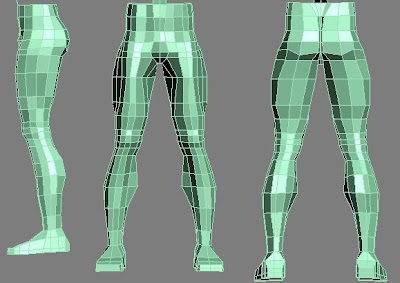
Step 9: The edges were then extruded upwards and joined to the neck to form the torso of the hunter. the chest and neck edges were then extruded out to form the start of the arms. A long time was spent on the muscle definition on the arms, chest and stomach here.
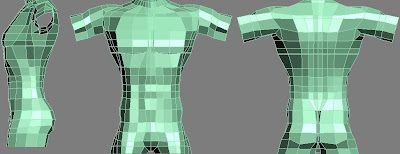
Step 10: The arm edges were then extruded outwards to form the elbows and wrists.
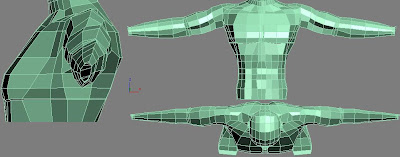
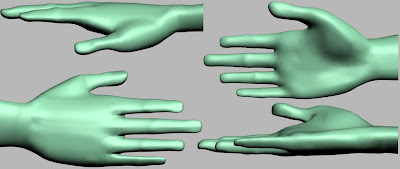
Step 11: The hands were created by extruding the wrist edges out. I created more edge loops to allow myseld to model in more detail whilst keeping food modelling practice.
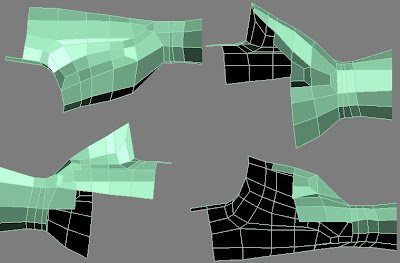
Step 12: I continued to extrude the edges to form the palm, back of the hand and start of the finger joints.
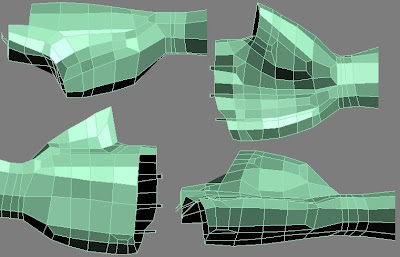
Step 13: I again added more edge loops on the lip and bottom of the hand to allow myself to model in more detail. The finger joints were then extruded outwards to form the start of the fingers and first knuckles.
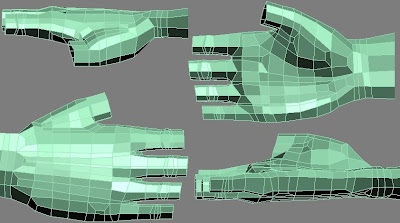
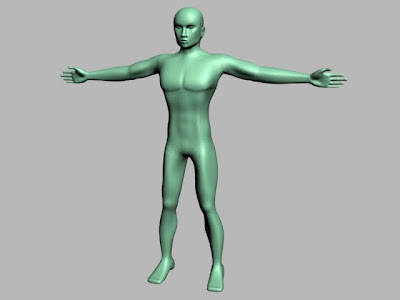
Step 14: Finally the fingers were extruded out to form the final knuckle, finger tips and finger nails. A mesh smooth was added to complete the modeling of my naked hunter model
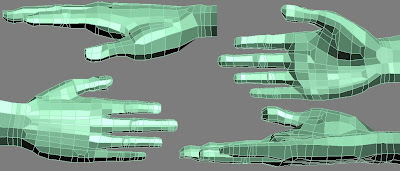
I spent a lot of time adding in detail to this model which ultimately would not be seen by anyone. I did not only for pleasure but experience. This is the first body/human model I have created and feel it is detailed enough to be used in my portfolio.
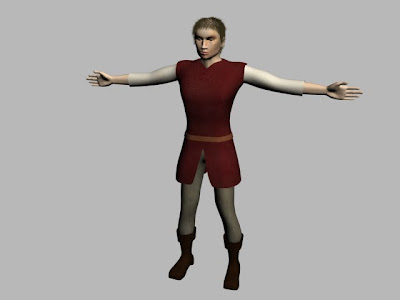
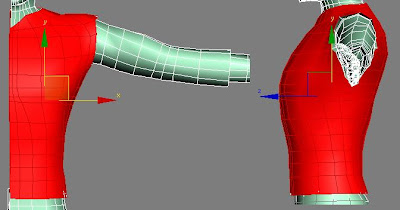
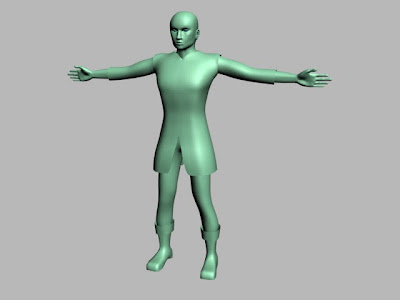
Step 15: To create the hunters clothes I selected the polys of differnt parts of clothes and extruded them outwards. I then selected all the polys and set the smooth selection to 3. The polys of the different parts of clothes where then selected and set the smooth selection to two. I selected the inner edges of the clothes and set the smooth selection to one in order to make a sharp edge defining the edge of the clothes. Finally I selected the polys of the different areas of clothes and relaxed them to lose the muscle definition I had modelled earlier. The vertices are then tweaked in different viewports to create the final shape of the hunters clothes.
Finally, the bottom of the hunters top was extruded downwards to form a tunic.
Step 16: I added a UVW Unwrap modifier to the stag and started to attach the pieces together.
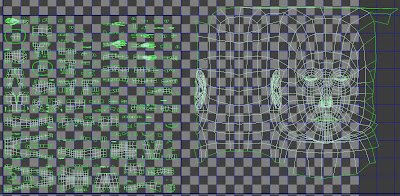
Step 17: A chequer material was used to see the unwrap progress.
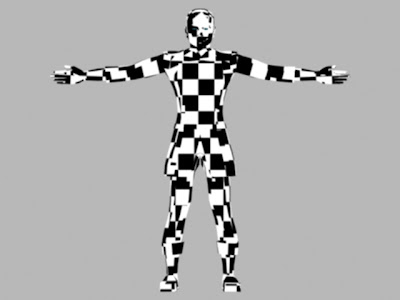
Step 18: I completed the UVW Unwrap in different sections for ease of creating a material.
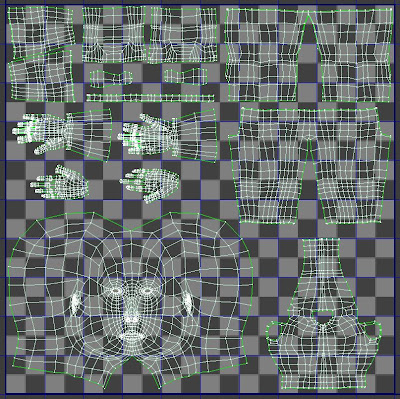
Step 19: I then checked the chequer material before proceeding to creating a material for the hunter.
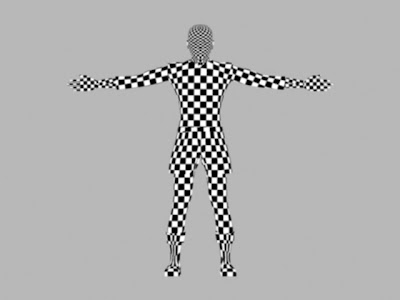
Step 20: I then created a material in photoshop using the UVW Unwrap render as a template and high quality textures found on the internet.
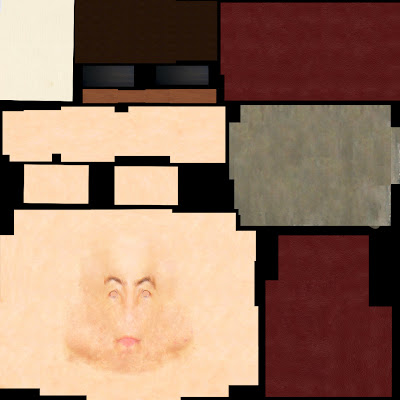
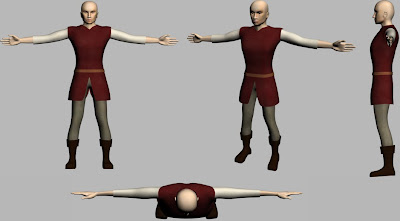
Step 21: I then created a biped and scaled the limps to fit the hunter. A skin modifier was then added and the vertices weighted.
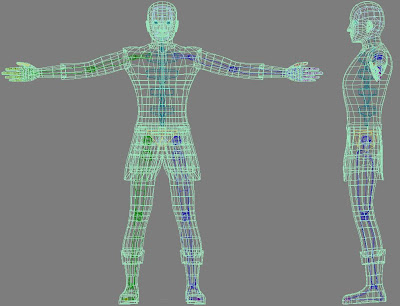
Step 22: I finally added a hair and fur modifier and styled it to form the hunters hair.

I am really pleased with this model and spent far much more time than was needed. I created the body of the hunter from start to finnish without any tutorials at all. For my first attept at a human body I think I have done well.
No comments:
Post a Comment